
To extend your shoes’ life, start by cleaning off dirt and stains with suitable cleaners and a soft brush or damp cloth. For scuffs, use a magic eraser or polish matching your shoe color. To fix worn soles, apply a shoe repair kit with strong adhesive or replace the soles altogether. Regular maintenance, careful cleaning, and simple repairs can save your shoes from early disposal. Keep going to discover even more effective DIY tips for shoe care.
Key Takeaways
- Clean shoes regularly with appropriate methods to prevent dirt buildup and maintain appearance.
- Use magic erasers or gentle cleaners to treat stubborn stains without damaging materials.
- Repair minor sole damage with shoe adhesive or patches, and replace entire soles for extensive wear.
- Keep shoes dry and conditioned to preserve leather flexibility and shine, extending their lifespan.
- Perform simple repairs like re-gluing loose heels or torn seams at home to avoid costly replacements.
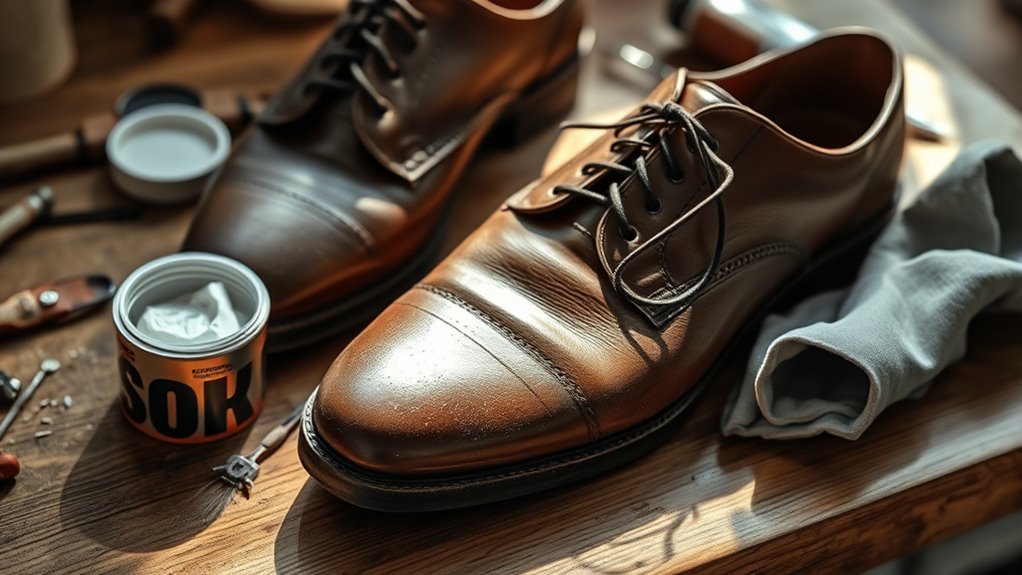
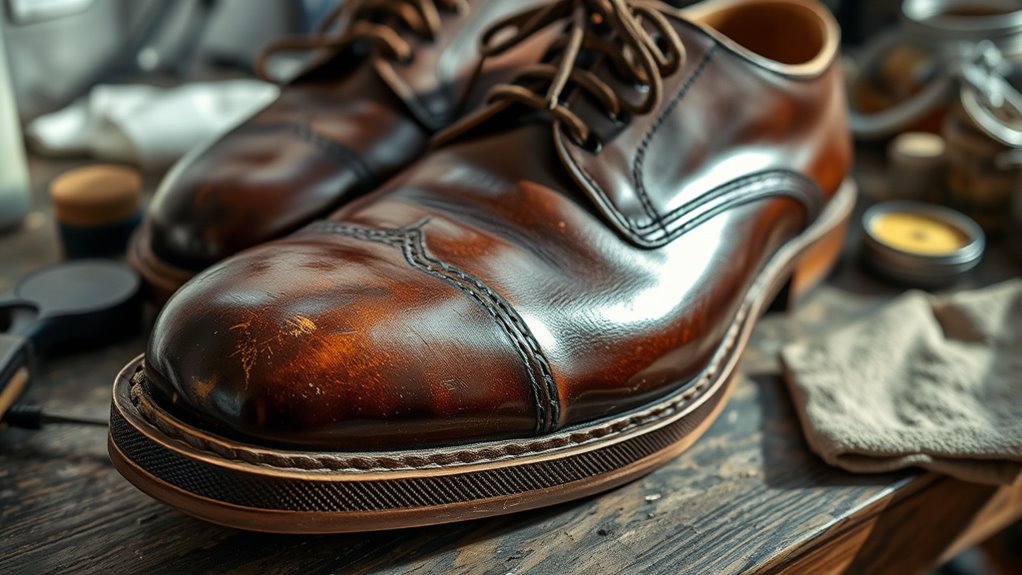
Shoes are an essential part of your wardrobe, but they often take a beating with regular wear. Over time, scuffs, stains, and worn-out soles can make even your favorite pair look tired. Luckily, you don’t always have to replace them. With some simple DIY techniques, you can extend their life and keep them looking fresh. Start with shoe cleaning to remove dirt and stains. Use a soft brush or damp cloth to wipe off surface dirt, then tackle stains with appropriate cleaners—leather cleaner for leather shoes, or a gentle soap solution for fabric or canvas. For stubborn marks, a magic eraser can work wonders without damaging the material. Once your shoes are clean and dry, focus on sole repair. Worn-out soles not only look bad but also compromise comfort and safety. If your soles are thinning or separating, consider applying a sole patch or adhesive designed for shoe repairs. You can buy these repair kits at most shoe or hardware stores. Carefully lift any loose parts, apply the adhesive evenly, and press the sole back into place. For a more durable fix, you might opt for replacing the entire sole, which is a straightforward process if you have basic tools. You can buy replacement soles and attach them with strong shoe glue or take them to a cobbler for a professional finish. If your shoe soles are completely worn through, replacing them can be a game-changer. Not only does it restore comfort, but it also makes your shoes look much newer. Remember, the key to successful sole repair is patience—allow enough time for glue or adhesive to fully cure before wearing the shoes again. Besides sole repair, paying attention to the shoe’s overall condition can prevent future damage. Regularly cleaning and conditioning leather shoes helps maintain their flexibility and shine. For sneakers and casual shoes, keeping soles clean and free of debris prevents premature wear. Small repairs, like re-gluing a loose heel or reattaching a torn seam, can often be done at home with minimal tools and supplies. The more you care for your shoes, the longer they’ll last, saving you money and reducing waste. The next time your shoes show signs of wear, don’t rush to replace them—try these DIY tips first. A little effort and the right products can make a significant difference, helping you save shoes and keep your wardrobe looking sharp. Remember, a well-maintained pair of shoes not only looks better but also feels more comfortable, so taking the time to repair and clean them is always worth it.
Frequently Asked Questions
Can All Shoe Materials Be Repaired at Home?
Not all shoe materials can be repaired at home, as material compatibility varies and influences repair success. Leather, canvas, and rubber are typically manageable with DIY methods, but delicate materials like suede or patent leather often have repair limitations. You should assess the material and choose appropriate repair techniques, understanding that some damages might require professional help. Knowing these factors helps you avoid further damage and prolong your shoes’ lifespan.
How Long Do DIY Shoe Repairs Typically Last?
DIY shoe repairs usually last several weeks to a few months, depending on durability factors like material type, repair quality, and wear patterns. If you use proper techniques and suitable products, your fix can be quite durable, but heavy use or exposure to harsh conditions may shorten repair longevity. Regular touch-ups and careful maintenance can extend the lifespan of your DIY repair, helping your shoes look good longer.
Are There Any Safety Precautions When Using Repair Chemicals?
When using repair chemicals, safety should be your top priority. Always read the labels for proper instructions and warnings. Wear protective gear like gloves and eye protection to prevent skin and eye irritation. Confirm you’re working in a well-ventilated area to avoid inhaling fumes. Following chemical safety guidelines helps prevent accidents and ensures your DIY repairs are safe and effective. Stay cautious and prioritize your safety throughout the process.
What Tools Are Essential for Basic Shoe Repairs?
When tackling basic shoe repairs, you’ll need essential tools like a small brush for shoe cleaning techniques, a palette knife or spatula for sole reinforcement methods, and a soft cloth for buffing. A good-quality glue or adhesive helps fix loose soles or scuffs. These tools make it easier to maintain your shoes, ensuring they stay in great shape while you use simple repair techniques to extend their life.
When Should I Seek Professional Shoe Repair Services?
Ever wonder when to call in the pros? If your shoes have deep tears, stubborn stains, or damage beyond simple fixes, it’s time for professional restoration. Emergency repairs, like sole separation or significant scuffs, demand expert attention to prevent further harm. Trust a skilled cobbler when DIY no longer suffices. They’ll ensure your shoes look their best and last longer, saving you money and frustration in the long run.
Conclusion
Think of your shoes as a trusted friend—worthy of care and attention. Just last week, I fixed a scuffed pair that looked beyond hope, and now they’re practically new. With a few simple DIY tricks, you can breathe new life into tired shoes and keep them lasting longer. Remember, a little effort now saves you from buying new ones later. Your shoes are worth it—treat them like the valuable companions they are.